Ha! I used those little bracket { } thingies! 🙂
Okay, so many of us portrait photographers make a big deal of letting a professional handle your family portraits. For many reasons; we have higher quality equipment (usually), we have a good eye for composition, posing, and exposure, and we can provide you with a high end print product for your wall, a professional can get you a better portrait than a tripod and a timer. The experience a professional provides takes away many stressors. The photographer can worry about taming the kids, snapping the shutter at the right moment, knowing she has the shot. Not to mention the culling, editing, and printing of a Wall Portrait that will have a prominent display in your home. However, many of us professionals ignore our own pleas and we shoot our own family portraits. Why? I think the excuses vary, but for me, I know exactly what I want, and I only have a short window of time to set it up, and it’s kind of become a challenge for me that I secretly enjoy. I’ve been using a tripod and a remote for many years, and I thought it would be fun to take my blog readers on the journey with me. So, here we go…
There are so many factors to consider when I decide it’s time for a new family portrait (usually once a year). Camera, lens, wardrobe, print size and variety, the list goes on and on. I know that I will want to print it large – larger than 16×20. Therefore, I will use my Canon 5D Mark II. The high end sensor used in this camera provides the megapixal type that will allow me to print big. I know that I’ll want the image to be as sharp as possible, I’ll want the subjects (my fam) to pop from the background, so I’ll use my 70-200mm zoom lens, the highest quality (and most expensive) lens I own. This lens will throw some challenges though, because of my family size. I’ll have to take a few test shots to make sure everyone is in focus and in frame. I don’t just want images of the whole family, I want many sets of images, just like I would provide a client. I have five children, ages 16 to 4, and keeping them all entertained and happy while I’m trying to compose images is tough. In order to maintain peace and sanity, I will break the shoot up into three or four mini-shoots. I know that I want the following shots:
- Abigail ( age 5)
- Thomas (age 4)
- Grayson (age 10)
- Skyler (age 14)
- Logan (age 16)
- Abigail and Thomas
- Mommy, Daddy, Abigail, Thomas
- Logan, Skyler, and Grayson
- All 5 kids
- Mommy with all five kids
- Mommy with Logan, Skyler, and Grayson
- Daddy with Abigail and Thomas
- The Whole Family
- Mommy and Daddy
Whew! It was tough typing that, and I’m concerned about shooting it. It’s been way too long since Ryan and I had portraits done, so we are getting a sitter and going out for a couple of hours to do our portraits. That takes care of one image on my list, “Mommy and Daddy”. The big boys, Logan and Skyler are only with us for a few weeks per year, so we only have a week to do the large part of the list. While I can only do the family shot during spring break, I can knock out the shots of the littlest kids anytime. I think I’ll take Abby and Thomas out sometime this week to do the shots of them. If Ryan can make it, we’ll do the shots of the little ones and us at the same time. That will take a few more items off the list. After the big boys get here, we’ll go out for a couple hours of pain and get the list completed. Sweet, logistics done.
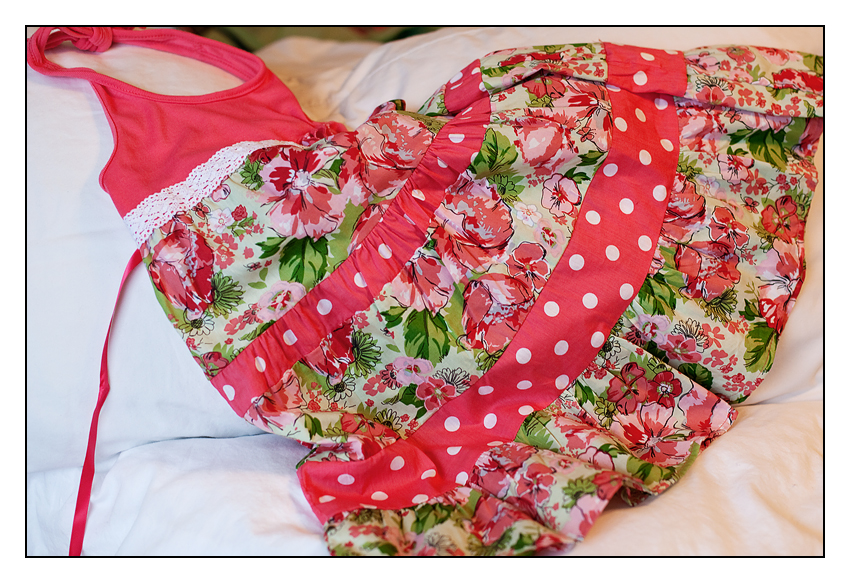
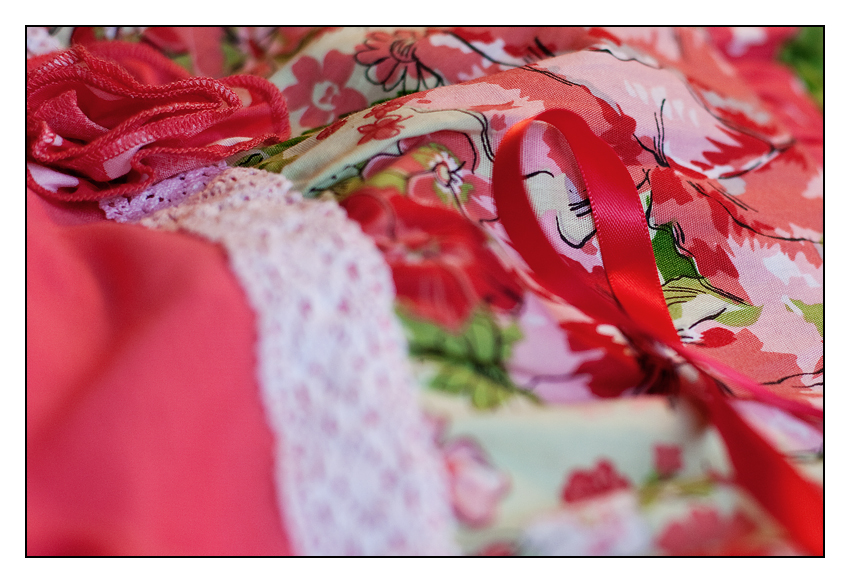
Now, for the portrait planning. My first concern is usually wardrobe. Wardrobe sets the tone for the images. If the wardrobe is very formal, the portraits will have a very regal feel. If the wardrobe is casual, the portraits will have a more relaxed tone. I want casual and relaxed. My goal is to have fun during the entire process, and I want the wardrobe to reflect that. When choosing wardrobe for portraits, I suggest choosing one family member’s outfit, usually a child’s, that has a distinct pattern. Then, using the pattern from this first outfit, select the other family member’s clothing. I followed my own advice and I chose a printed dress for my daughter as the “Inspiration Pattern”.
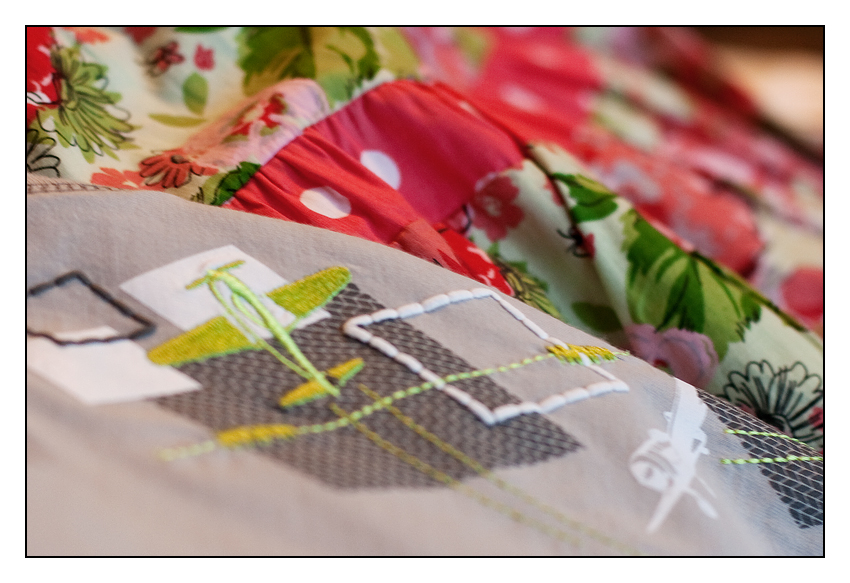
From there, I went to the little boys clothing and found the perfect shirt for my four-year-old. While it pulled out the gray in the flowers of Abby’s dress, I fell in love with it because it has airplanes!
The big boys’ shirts were a little more complicated because I didn’t want them all in green, and they are not really into wearing pink. Dedicated to the mission, I kept looking until I found shirts in green and gray. There was not another color in Abby’s dress that was not pink or green, so I was stuck. I stood in the store, staring at the options for big boys shirts. My eyes kept returning to a blue/green/aqua color. It coordinated with the coral on the dress amazingly! Inspiration struck! I would add a shirt of the same color for Abby to wear under her dress.
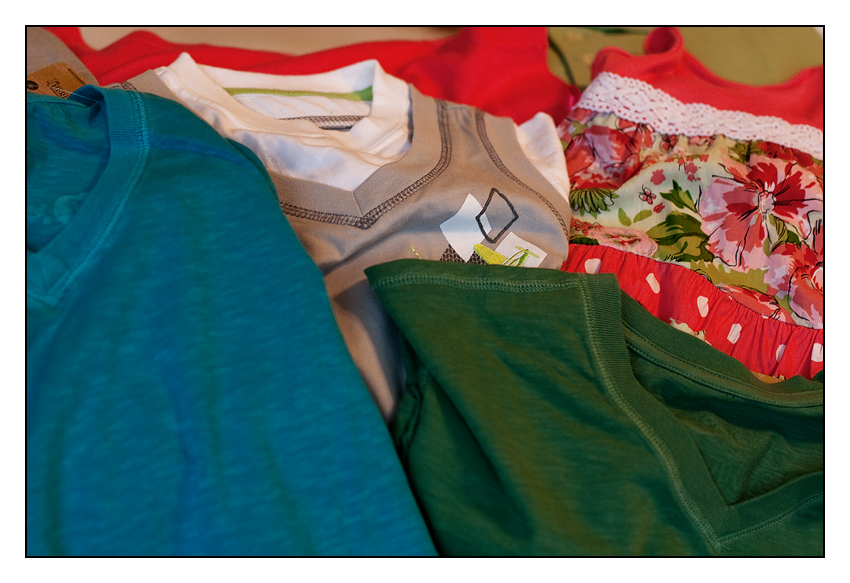
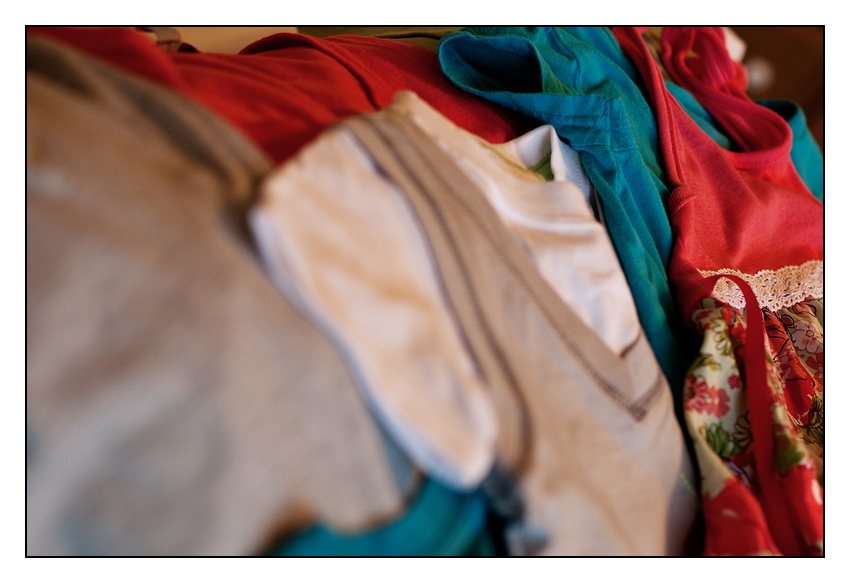 Perfect! The kids were done. Choosing for myself and Ryan was not too big of a deal. I tried on a couple of shirts that were funky and fun, but, alas, I am not funky or fun, so I settled on a simple coral sleeveless sweater. I chose a muted lime green polo for Ryan, and I was finished.
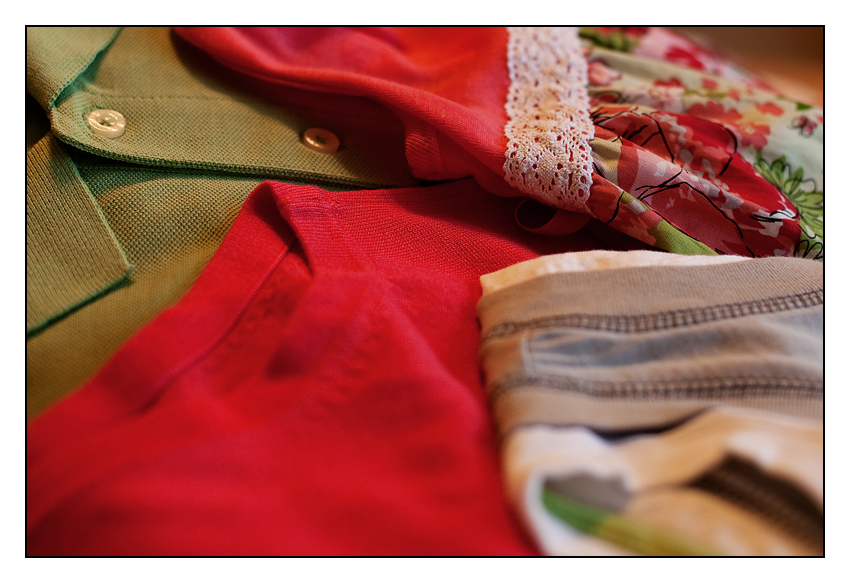 Wardrobe is ready to go. Now to get all of the images on my list without losing too much hair. First up… “Mommy and Daddy In Love”… stay tuned…

