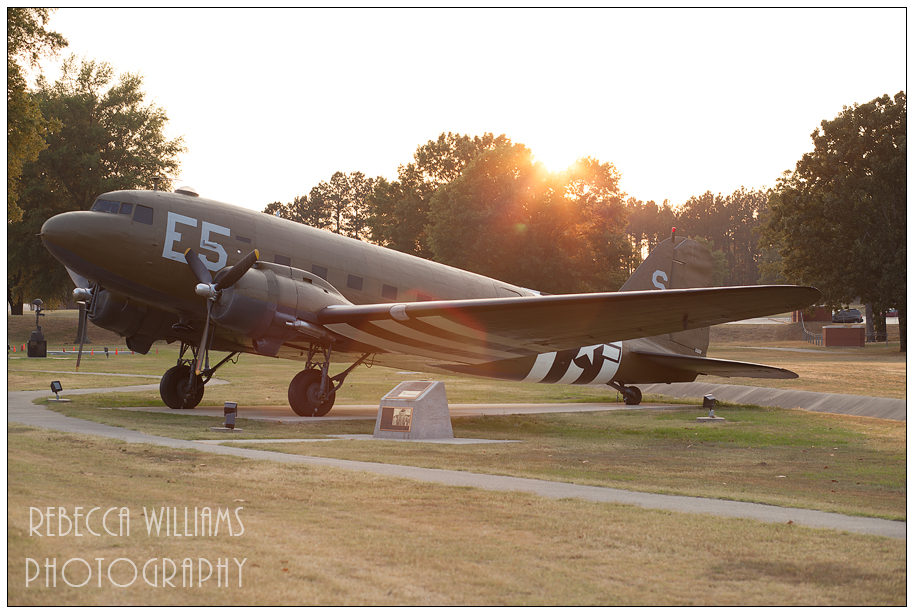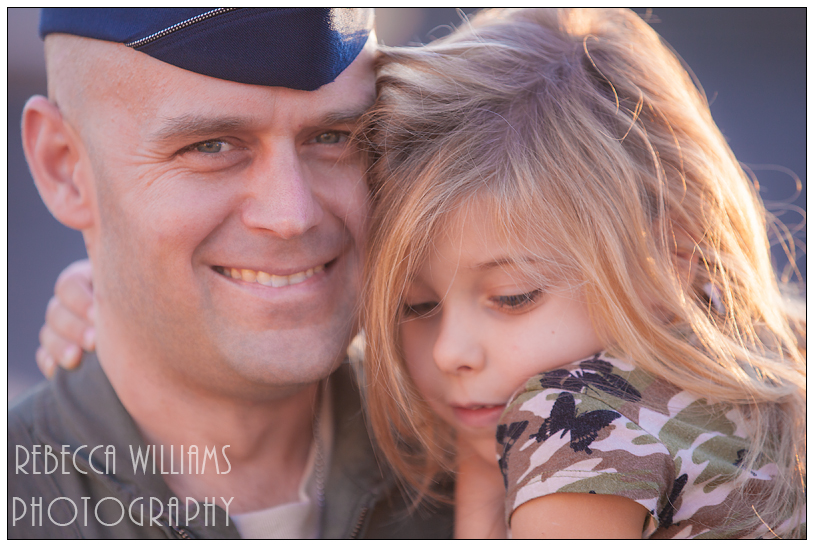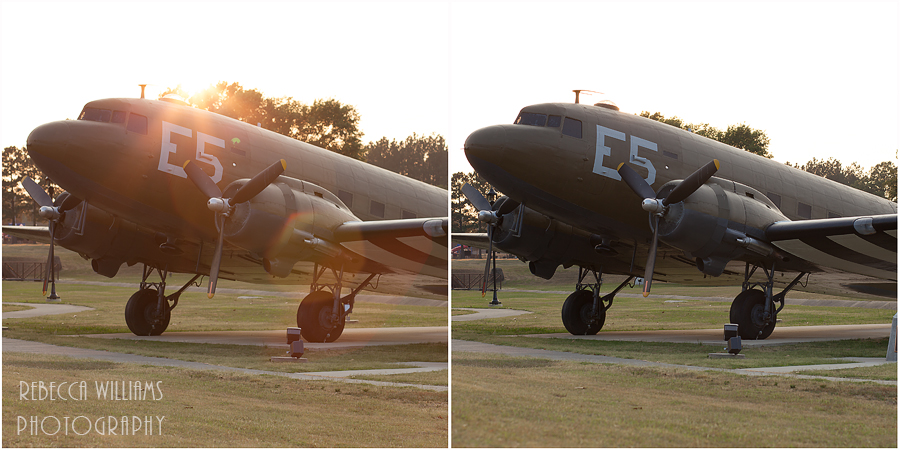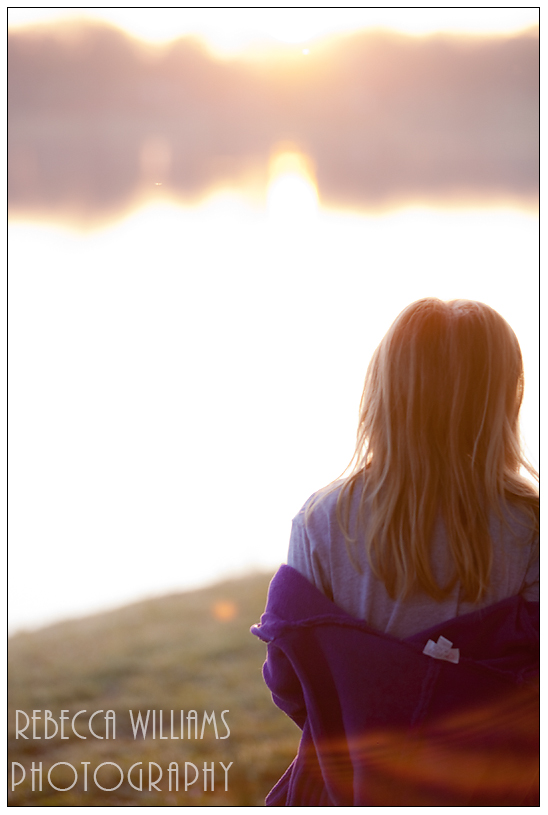
We’ve all seen it. We’ve all admired it. Some of us… love to hate it. Sun flare. It’s the newest craze to hit photography, and EVERYONE (including myself) is doing it. Creating such a dreamy creamy image, it pulls you in and holds you captive. With your eyes fixated on these surreal captures, it is difficult not to remember where you were when you realized that you were in love for the first time, or think of your wedding day, you think of bringing your first child home, you think of purchasing your first car. Maybe, perhaps, you think, “YOU ARE BURNING PIXELS, PEOPLE!!” No? I’m the only one, then? I thought as much… Sigh. Well, if you can’t beat ’em – teach ’em. 🙂

This technique is not difficult to achieve, it just requires patience and confidence in yourself. Confidence requires a knowledge of your camera’s manual settings – ISO, Aperture, and Shutter Speed. If you need help with mastering manual settings, Mommy Photography 101 is for you!

Alright, back to sun flare, or lens flare, or… PIXEL BURN. I would suggest that you start with an inanimate object, but I know you are going to take your own kids out to practice on, and they will be less than thrilled, so you need to time it right and be ready. Ensure you’re camera’s battery is charged (and in the camera). Verify that you have a memory card, with free space, in your camera. The sun will need to be low in the sky, but not so low that you can’t see it, so if you have a giant tree line you’ll want to shoot earlier than someone who can see the horizon. I’d say about a half hour to 45 minutes before sunset is ideal. Set the camera dial to “M” for Manual! Start your ISO at 200-400, but you may need to up it as the sun sets. Knowledge of your camera comes in handy right about…now. With your subject’s back facing the sun, fill your viewfinder with the subject – if your subject is a person – get close enough to fill the viewfinder with the person’s skin (face). This is where you get your reading for the manual settings, so it’s important to read off of the skin, and be sure none of the sunflare is sneaking into the viewfinder. Set your aperture (how wide the opening letting light hit the sensor- it’s the number that is usually the lowest of the three in your readout). Start with it around 5.6 or 4.0. The final setting to think about now is the shutter speed (how long the shutter will allow light to hit the sensor). This is what you are going to adjust until the meter is reading a correct exposure (arrow in the middle).

Now for the capture. You have your camera settings adjusted to a correct exposure for your subject. Step back and frame your shot. Your camera may scream at you, telling you your image is not exposed correctly, but you know that your subject is, so tell your camera to shut it. You’ll want to get low enough that you can see the sun through the viewfinder. The sun can flare through your entire shot, through part of the shot, or just rim the subject with a beautiful back light glow. A word of caution here: if you are using auto-focus, your camera needs to be able to “see” the subject without too much “flare”, so move around until the camera can get a lock on your subject’s face. Finally, push the shutter button! Take a look at your shot. Is it amazing? Need to try again? Go ahead, play around!
Points to keep in mind:
– Your camera owner’s manual, your lens owner’s manual, and your eye owner’s manual (if there was one), all say “Do not point directly at the sun”. So, shoot at your own risk.
– If your camera’s auto focus can’t get a lock – try manual focus! It’s fun to play around with.
– I call this technique “pixel burn” because the glow it creates, the very aspect that draws viewers in, is caused by the light spilling across the sensor and burning out pixels.

Obviously, due to my irreverent post, this is not my favorite type of image, so keep that in mind when you’re following my instructions. I am not claiming to be a sun flare expert by any means, and there are photographers, photographers whom I admire very much, who have mastered this skill enough to base their entire business on it. I am not trying to denigrate their creativity at all. There are many factors that combine to make a great image, more than I could discuss here. This post has an intended audience of an amateur photographer trying to do something fun, or spice up, her photography.
Comment with any questions!

Technical Note: These images were captured using the Canon 5D Mark II body with the Canon 70-200mm 2.8 L lens and the Canon 85mm 1.8 lens. Slight adjustments were made to the RAW files, but I tried to keep them near out of camera.
